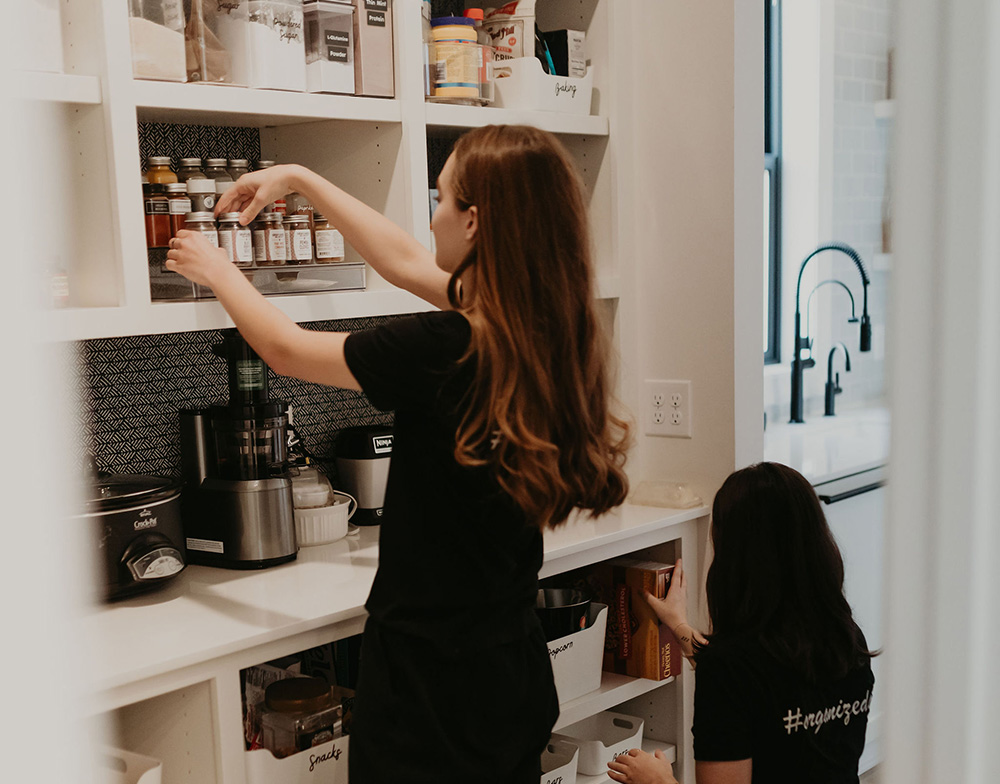
There’s something undeniably satisfying about opening a perfectly organized pantry: clear containers lined up, easy-to-see labels, and a sense of calm instead of chaos. Whether your pantry is a small closet or a large walk-in space, organizing it well can save time, reduce food waste, and make meal planning easier. But the real secret isn’t just tidying once, it’s maintaining an organized pantry long-term. Let’s walk through practical steps to transform your kitchen pantry into a clutter-free, efficient space that stays that way.
Key Takeaways
Purge first: Empty shelves, sort into keep/donate/toss piles, check expirations, and clean while empty.
Create zones: Group items by category (e.g., staples, snacks, baking) with frequent-use items at eye level.
Build habits: Weekly 5-10 min tidy, immediate restocking, “first in, first out” rule, and monthly expiration checks.
Start With a Pantry Purge
The first step toward a functional pantry is clearing everything out. Take everything off the shelves so you can see what you have. As you sort through items, check expiration dates and toss anything that’s expired, stale, or no longer edible. Be honest with yourself, if you haven’t used that can of coconut milk in two years, it’s probably time to let it go.
Group similar items together (like baking goods, snacks, canned goods, etc.) so you’ll have a better picture of what you’re working with. This step not only frees up space but also gives you a fresh start before you begin organizing.
Quick Tips:
• Create three piles: keep, donate, and toss.
• Wipe down shelves while they’re empty.
• Make note of items you’re low on so you can restock.
Zone Your Pantry for Functionality
Once everything is clean and sorted, it’s time to think about zones. A well-organized pantry groups items by category so you always know where to find what you need. Zones can be as simple as breakfast foods, baking supplies, snacks, or proteins. Think about how you use your pantry and build zones that support your cooking habits.
Common Pantry Zones:
• Everyday staples: flour, sugar, cooking oils
• Breakfast items: cereals, oats, pancake mix
• Snacks: chips, nuts, granola bars
• Baking supplies: chocolate chips, extracts, baking powder
• Canned goods: vegetables, beans, soups
Keep frequently used items at eye level for easy access, while placing lesser-used items higher up or on lower shelves. This simple zoning method can shave minutes off meal prep and help reduce clutter because everything has a place.
Use Clear Containers and Labels
One of the biggest pantry game-changers is switching from original packaging to clear containers. Not only do clear bins and jars make your pantry look more streamlined, but they also help you instantly see what you have. Uniform containers are easier to stack and maximize space.
Container Ideas:
• Airtight containers for dry goods like pasta, rice, and flours
• Baskets for snacks or irregularly shaped items
• Small bins for packets (like gravy mixes or seasoning packets)
• Lazy Susans for oils, vinegar, and small bottles
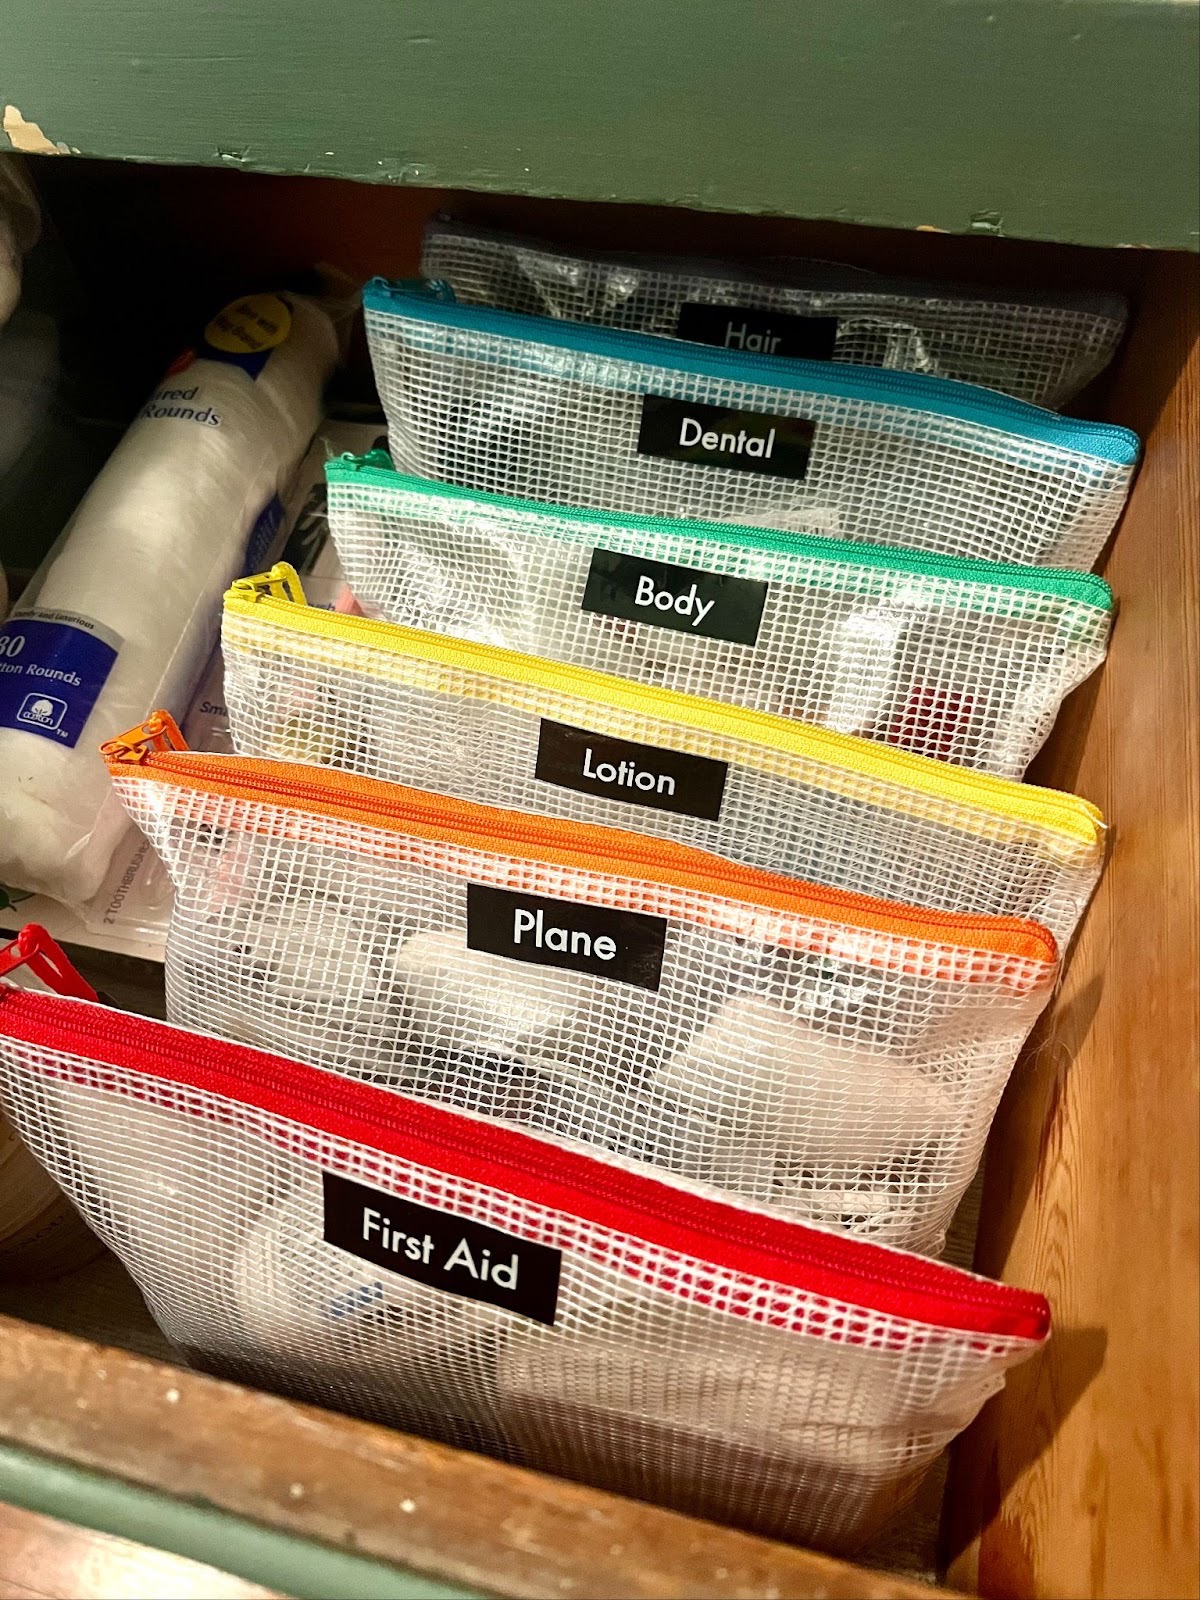
Label everything. When you label containers, everyone in your household knows where things go and where to grab them during busy weeknights. Use simple, readable labels that clearly identify the contents and consider adding expiration dates where appropriate.
Adjust Your Shelves to Fit Your Needs
One size doesn’t fit all when it comes to pantry shelves. Adjustable shelving can make a world of difference. Taller items like cereal boxes and large containers need more vertical space, while smaller items can fit on shorter shelves.
If your pantry shelves aren’t adjustable, get creative with shelf risers and riser bins. These allow you to double-stack items safely without losing visibility. By customizing your shelf heights and adding organizational tools, you’re making your pantry work for you, not the other way around.
Make Use of Door Space
Pantry doors are often overlooked real estate that can dramatically increase storage space. Over-the-door racks or hanging organizers can hold spices, snacks, wraps, or even small bottles and jars. This keeps frequently used items at eye level and frees up shelf space for larger goods.
Mesh or fabric pockets are also great for lightweight items like seasoning packets or tea bags. Just make sure whatever you hang is secure and doesn’t interfere with the pantry door closing properly. They also make it easier to see small items at a glance and prevent them from getting lost.
Create Easy-to-Maintain Habits
Organizing your pantry is one thing; keeping it that way is another. Establish simple habits that help maintain order long-term.
• Do a quick weekly tidy: Take 5–10 minutes once a week to straighten containers, refold bags, and return misplaced items.
• Restock mindfully: When you bring groceries home, put items away immediately and remove empty containers.
• Use the “first in, first out” rule: Place newly purchased items behind older ones, so you use them before they expire.
• Check for expiration regularly: Once a month, glance through your pantry and pull anything that’s nearing its best-by date.
These habits take minimal time but make a huge impact on keeping your pantry clutter-free.
Flexible Solutions for Every Pantry
Every kitchen pantry looks different, so choose organizational tools that suit your space and lifestyle. If you have a small pantry, slim containers and stackable shelves may be your best friends. Larger pantries can benefit from bins, baskets, and designated zones that keep bulk items organized and accessible.
Remember, organization isn’t about perfection; it’s about creating a system that works for you. Your pantry should make your life easier, not overwhelm you. Focus on progress, not flawless results every time.
Keep Your Pantry Clutter-Free for Good
When your pantry is organized thoughtfully with zones, clear containers, proper shelving, and easy habits, it becomes a space that feels calm, intentional, and useful. A clutter-free pantry doesn’t just look pretty; it makes cooking and meal planning more enjoyable and efficient.
Meat and Potatoes Organizing can help create functional, easy-to-maintain pantry systems tailored to your lifestyle. By adding simple habits like clear labeling, quick weekly refreshes, and thoughtful restocking, your pantry can remain neat and efficient well beyond the first organizing session. With the right structure and support, maintaining an orderly space becomes a seamless part of your routine rather than a recurring project.