Keeping the under-the-sink space neat can feel like a myth. That dark, awkward area becomes a dumping ground for sprays, sponges, totes, and that thing you “might need someday.” But here’s the good news: Organizing under the sink doesn’t have to be frustrating or impossible. With a few simple steps and smart storage solutions, you can transform that chaotic cupboard into a clean, functional zone you actually enjoy using. Below are practical tips you can follow this weekend to organize under the sink and finally stay clutter-free.
Key Takeaways
- Empty & Assess: Clear everything out, toss expired or unused items.
- Know Your Space: Measure cabinet size, note pipes, door clearance, and lighting.
- Use Smart Storage: Bins, pull-out trays, tension rods, lazy Susans, and hooks maximize space.
- Group Similar Items: Keep daily cleaners, tools, refills, and accessories together.
- Label Everything: Labels make it easy to maintain order and find items quickly.
- Weekly Maintenance: Return items, wipe spills, toss empties, and refill essentials.
- Stay Consistent: Only store relevant items, check for expiration, and adjust tools as needed.
Why Under-Sink Storage Gets Messy and Why It Matters
Under the sink is one of the trickiest spots in your home. Pipes cut into usable space, cleaning products of all shapes and sizes battle for room, and it’s often the catch-all for odds and ends you don’t know what to do with. Over time, it becomes difficult to find what you need, which leads to even more clutter. But this space matters more than you think. When you organize under the sink, you’ll:
• Save time searching for supplies
• Prevent spills and messes
• Protect kids and pets from harmful products
•Increase usable storage in your kitchen or bathroom
A clean under-sink area isn’t just about looks; it’s about making your daily routines easier and safer.
Step 1: Empty It Out and Assess
The first step to getting clutter under control is to remove everything from the cabinet. Yes, everything.
Take all the cleaning sprays, buckets, scrub brushes, and random objects out and set them on the counter or floor. This step is essential because it gives you a clear picture of exactly what you’re dealing with.
As you empty the space, ask yourself:
• Do I actually use this?
• Is it expired or almost empty?
• Can it be stored somewhere else?
Items you rarely use or no longer need should be donated, recycled, or tossed. This sort of decision-making early on makes the rest of the process smoother.
Step 2: Understand Your Space and Needs
Under-sink cabinets vary widely. Some have wide-open floors; others have narrow shelves. Many have plumbing that gets in the way. Because of the variations, understanding your unique space is key.
Look for:
• Obstructions like pipes and garbage disposal units
• Depth and height of the cabinet
• Door swing clearance
• Light availability
As you consider these, think about what you use most. If you reach for dish soap and a sponge every day, they should be front and center. Products used once a month can sit toward the back.
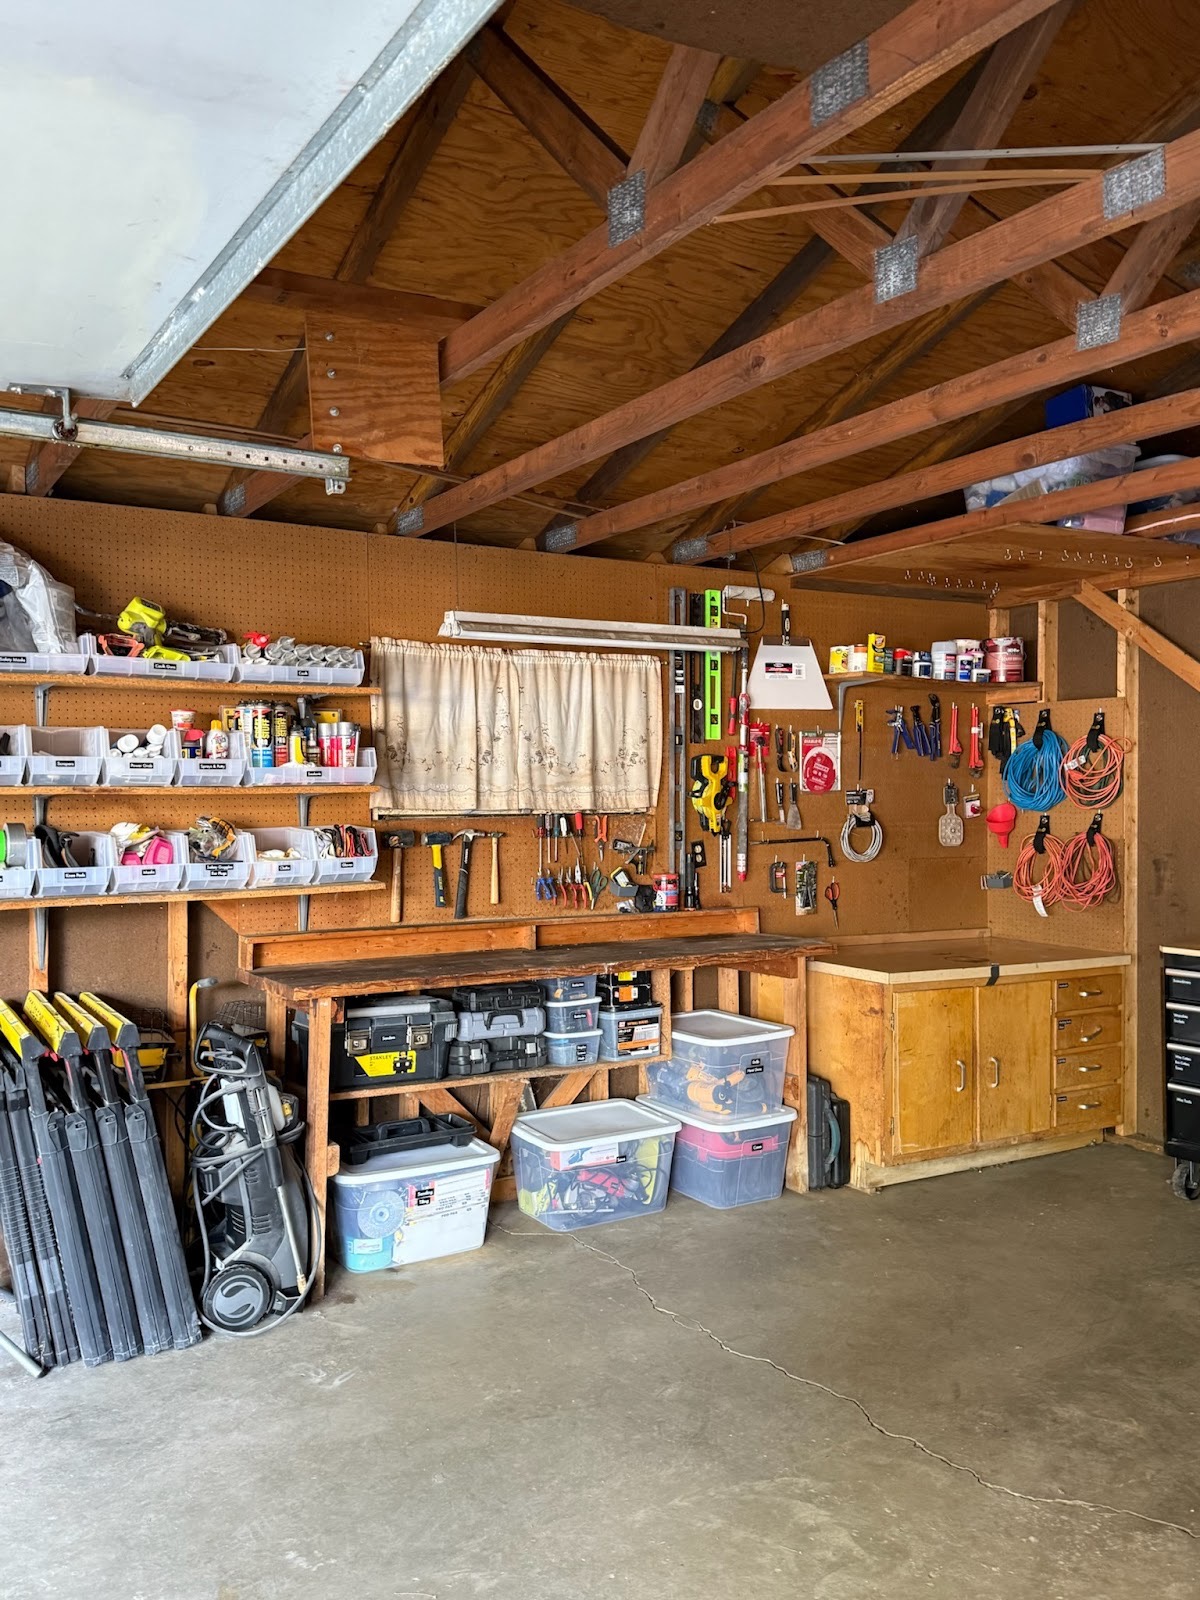
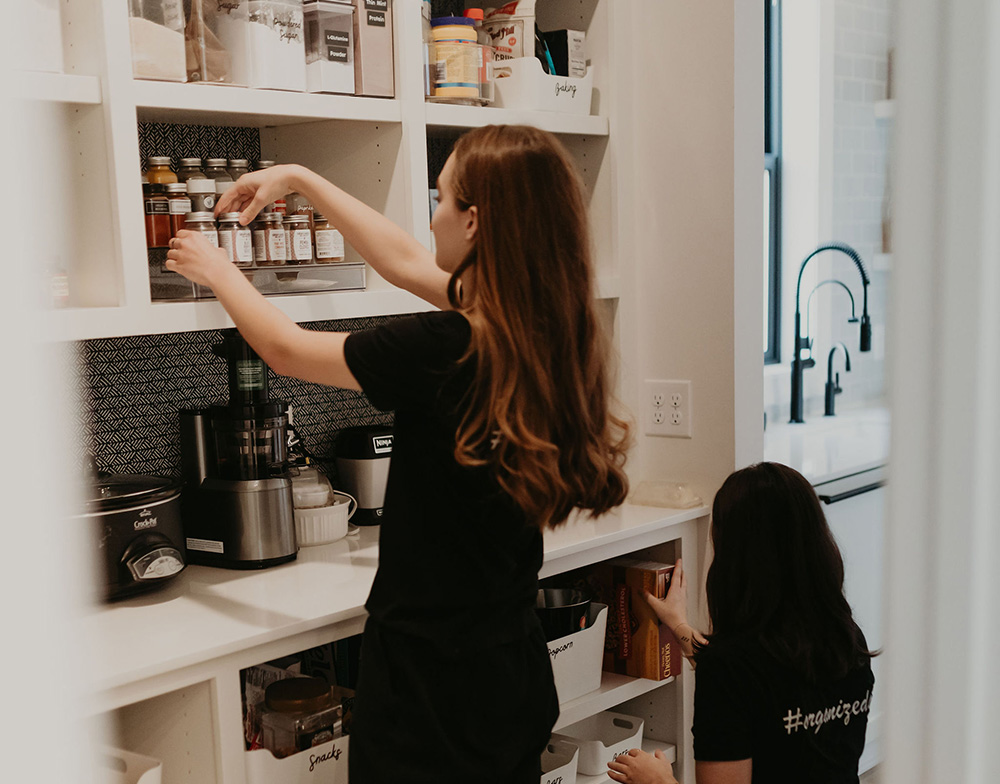
Step 3: Pick Smart Storage Solutions
Once you know what you have and what you need, it’s time to install storage items that work with your space. Don’t worry, solutions can be affordable and simple.
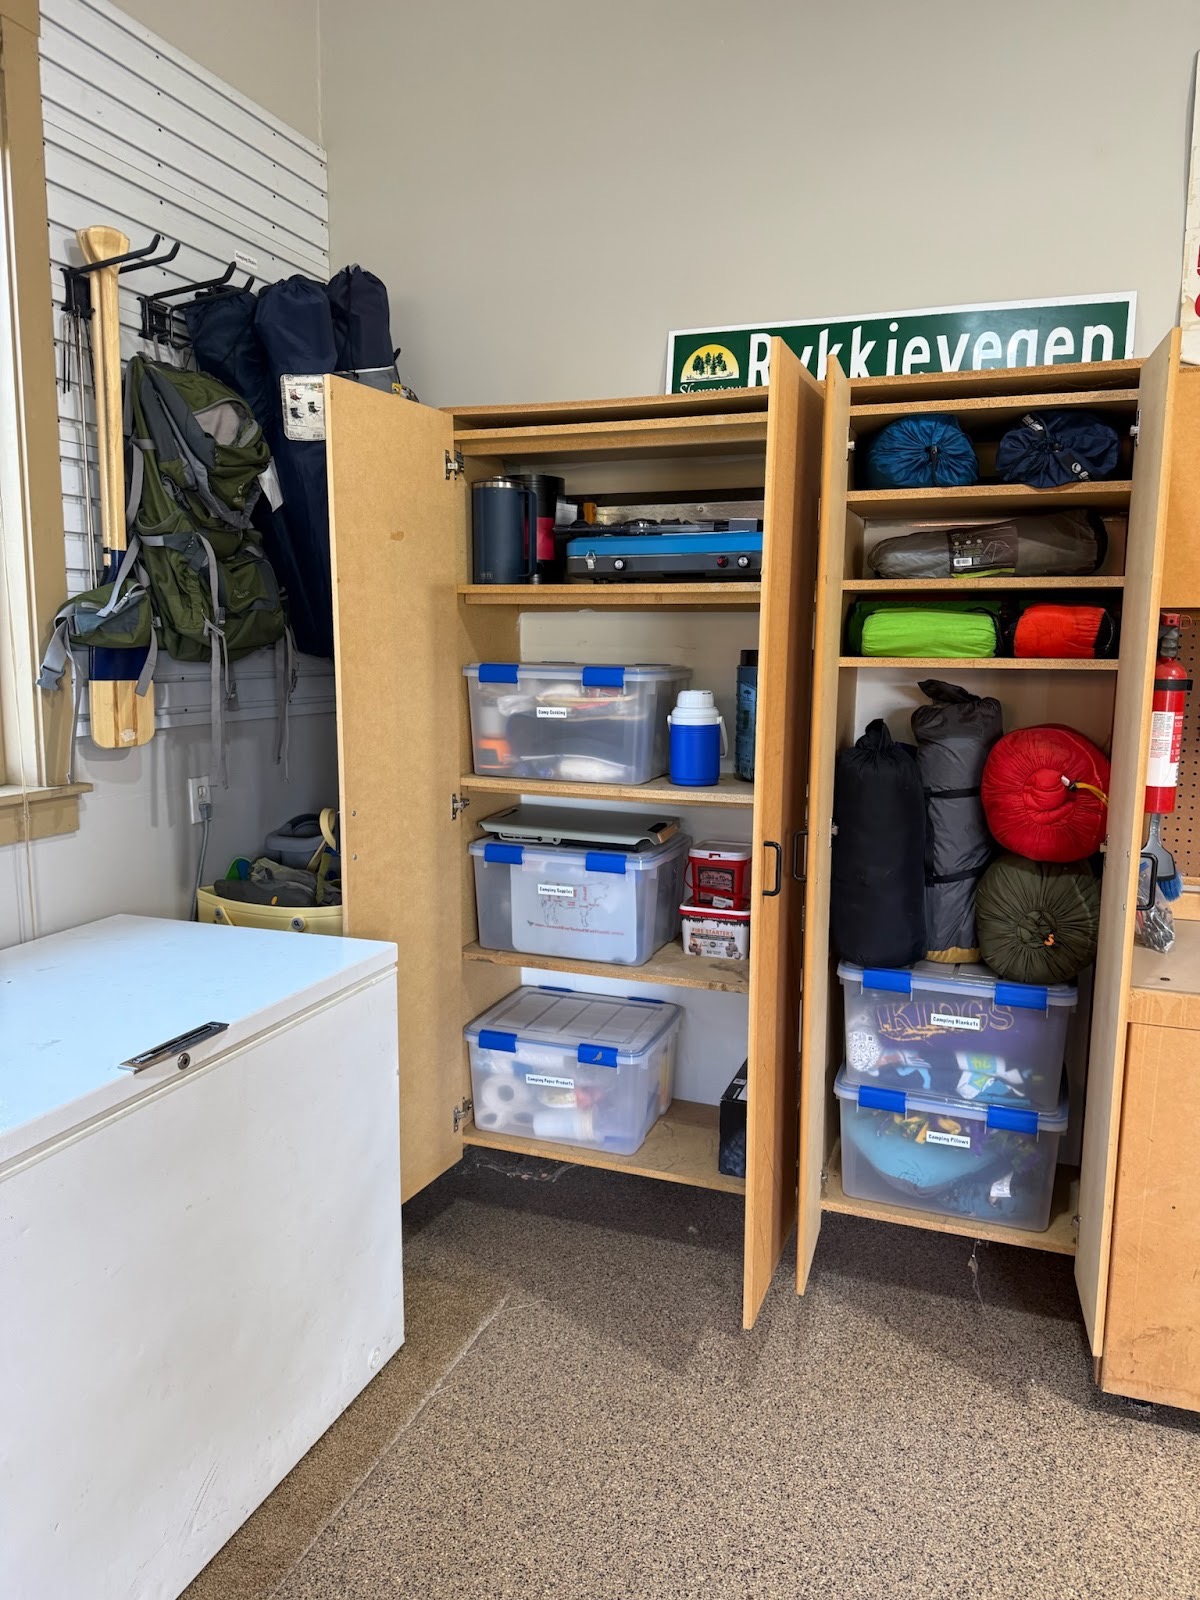
1. Bins & Baskets
Stackable bins help group like items together. For example:
• One bin for cleaning sprays
• One for dish brushes and scrub pads
• One for spares and overflow
Clear or labeled bins make it easy to see what’s inside without digging.
2. Pull-Out Trays or Drawers
These are especially helpful if you have deep cabinet space. Pull-out trays slide forward so nothing gets lost in the back. You don’t need to bend and rummage; just slide and grab.
3. Tension Rods
Tension rods are inexpensive and incredibly effective. Install a rod across the width of the cabinet and hang spray bottles by their necks. This instantly frees up floor space for bigger items.
4. Lazy Susans
A spinning tray inside your cabinet allows you to reach items without moving everything else. This is perfect for bottles and jars.
5. Hooks or Adhesive Strips
Stick hooks on the cabinet sides or doors to hang gloves, brushes, or towels.
Step 4: Group Like With Like
Now that your storage tools are in place, it’s time to organize by category. Group similar items together so you always know where to find them.
Here are common groupings under the sink:
• Daily cleaning essentials
• Deep-cleaning tools
• Trash bag rolls and spares
• Dishwasher and sink accessories
• Pet cleaning supplies (if needed)
Use bins for each category. Not only does this look cleaner, but it also makes maintenance easier.
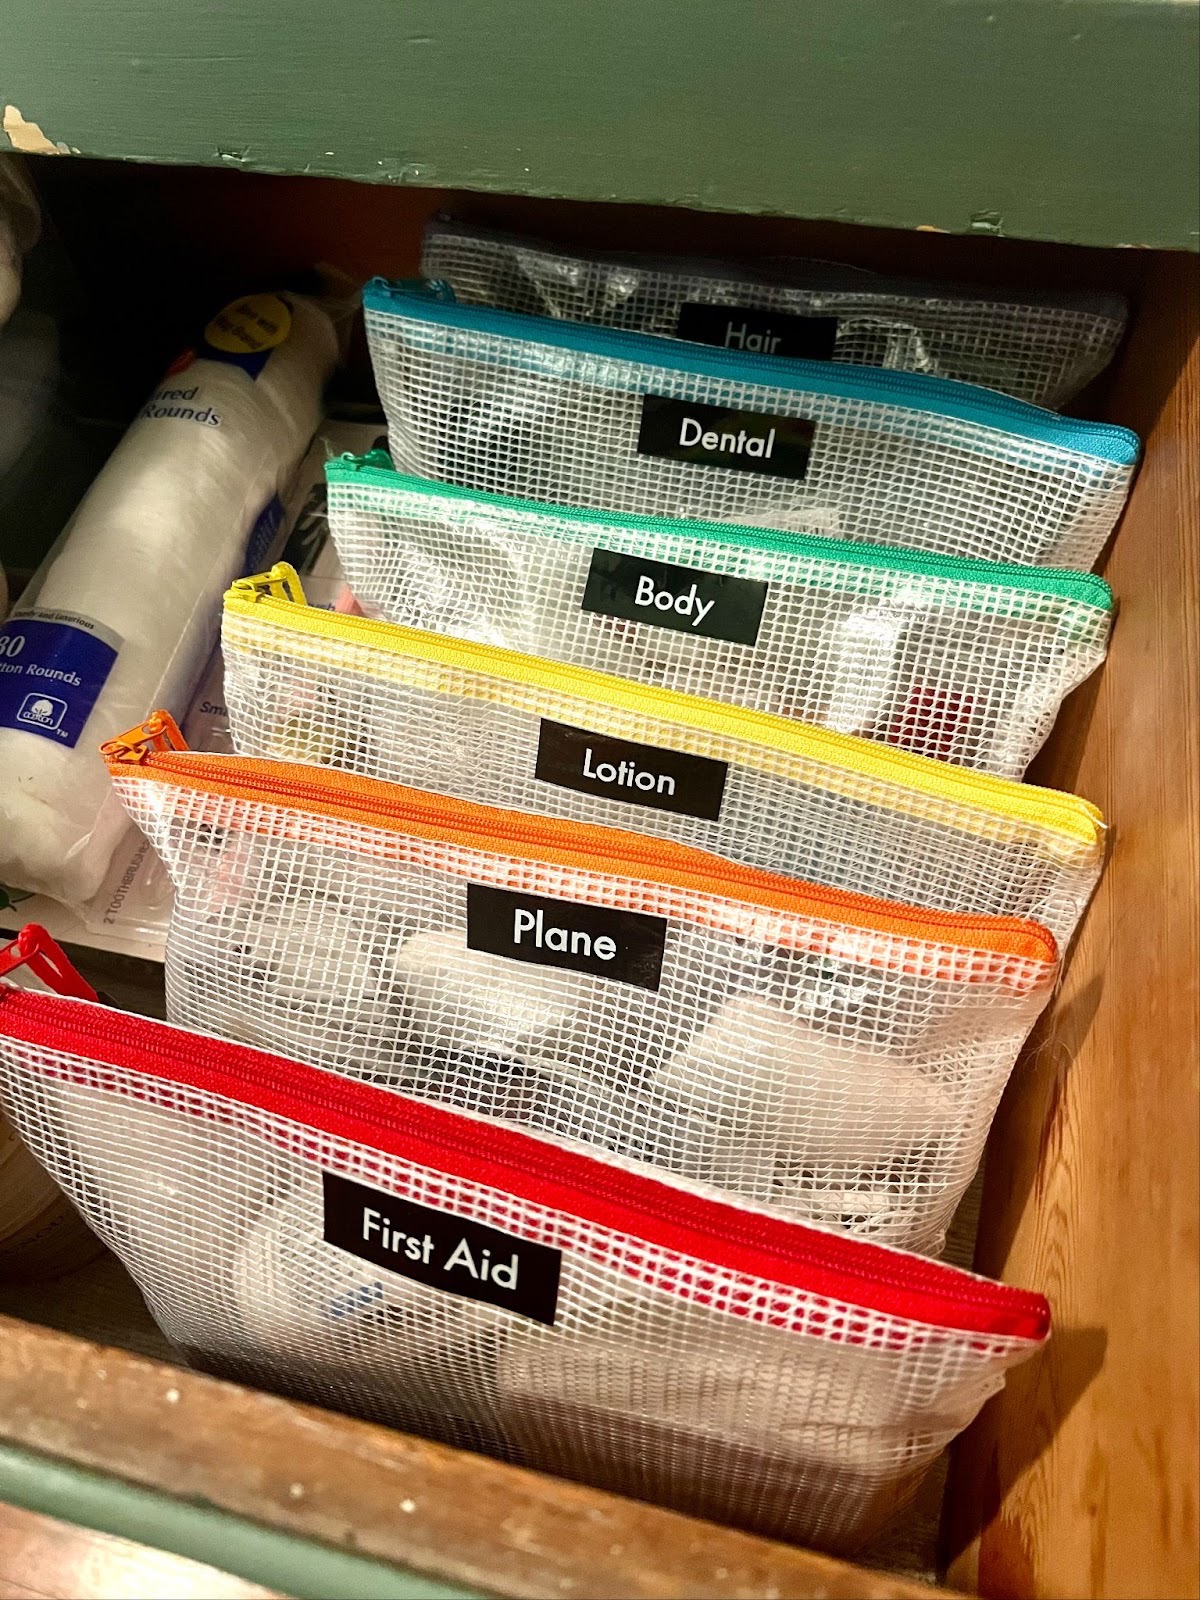
Step 5: Label for Lasting Order
Labels might sound optional, but they make a huge difference. When everything has a place and a name, it’s easier to put things back properly.
Use simple labels like the following:
• “Daily Cleaners”
• “Scrub Tools”
• “Refills”
• “Gloves & Cloths”
Handwritten labels are fine, but clear printed ones take organization to the next level, creating a cleaner, more polished, and consistent look.
Step 6: Maintain Weekly
Once your under-sink area is organized, the real trick is maintenance. Take just a couple of minutes each week to:
• Return items to their bins
• Wipe up drips or spills
• Toss empty containers
• Refill essentials
A few minutes now saves major stress later.
Maintaining Clutter-Free Under-Sink Storage Long-Term
Getting organized is one thing; staying that way is another. But once you adopt good habits, your under-sink storage becomes easier to manage than you ever expected. Think of it as a system where every item has a home and every home is easy to access.
Here’s how to stay consistent:
• Put items back in their bins immediately after use
• Avoid storing things that don’t belong under the sink.
• Check for expired or empty products monthly
• Adjust storage tools as your needs change.
Staying clutter-free isn’t about perfection. It’s about routines that prevent chaos from creeping back in.
Make Your Space Work for You, Not the Other Way Around.
Meat and Potatoes Organizing believes that a clutter-free home isn’t a luxury; it’s a practical way to make everyday life easier. When you organize under the sink the right way, you’ll not only reclaim valuable space but also reduce daily stress, save time, and bring more calm into your routine.
Ready to transform your home one space at a time? Call Meat and Potatoes Organizing at (651) 380-8798 today for customized organizing solutions, smart storage strategies, and a clutter-free lifestyle.