
By Jackie Leffner
Not only do our kids start to use more toys, eat more food, and run around the house all day – they also go outside! (hopefully 😉) Many families we have worked with store their kid-friendly items in the garage for the summer. We have seen hula hoops, squirt guns, nerf guns, water slides, dive toys, water balloons, etc. This leads us to the question of – how can we encourage our kids to play with these items and be outside AND put everything back properly? That last part seems to be the most difficult for families. So, let’s talk about it!
If you have not taken the time to organize your garage, go back and peek at either of our previous garage organization posts! (HERE or HERE). They will help you to make sure your space is organized well to allow for you to work with the kids on where their items should be.
Typically, we start all projects with “take everything out” which we know can often seem like a daunting task for a garage. Since we are focused on the kid’s items – let’s just start there.
Step 1: Pull it All Out!
To be able to visualize the space and efficiently organize, you will want to take all your kids’ items out of your garage. This might require you to go to multiple places in the garage or outside to collect all of the outside toys. Choose a nice day to do this so you can use your driveway as your pull-out space and give yourself room to go through it and categorize.
If you’re tackling this after you’ve done the other areas of your garage, then you can focus on just the kids’ items; however, if you have never tackled the garage before – we’d highly recommend you take every item (yes, every single one) out of your garage so you can have a clear vision for what space you have.
Step 2: Identify a Dedicated Zone for the Childrens’ Belongings.
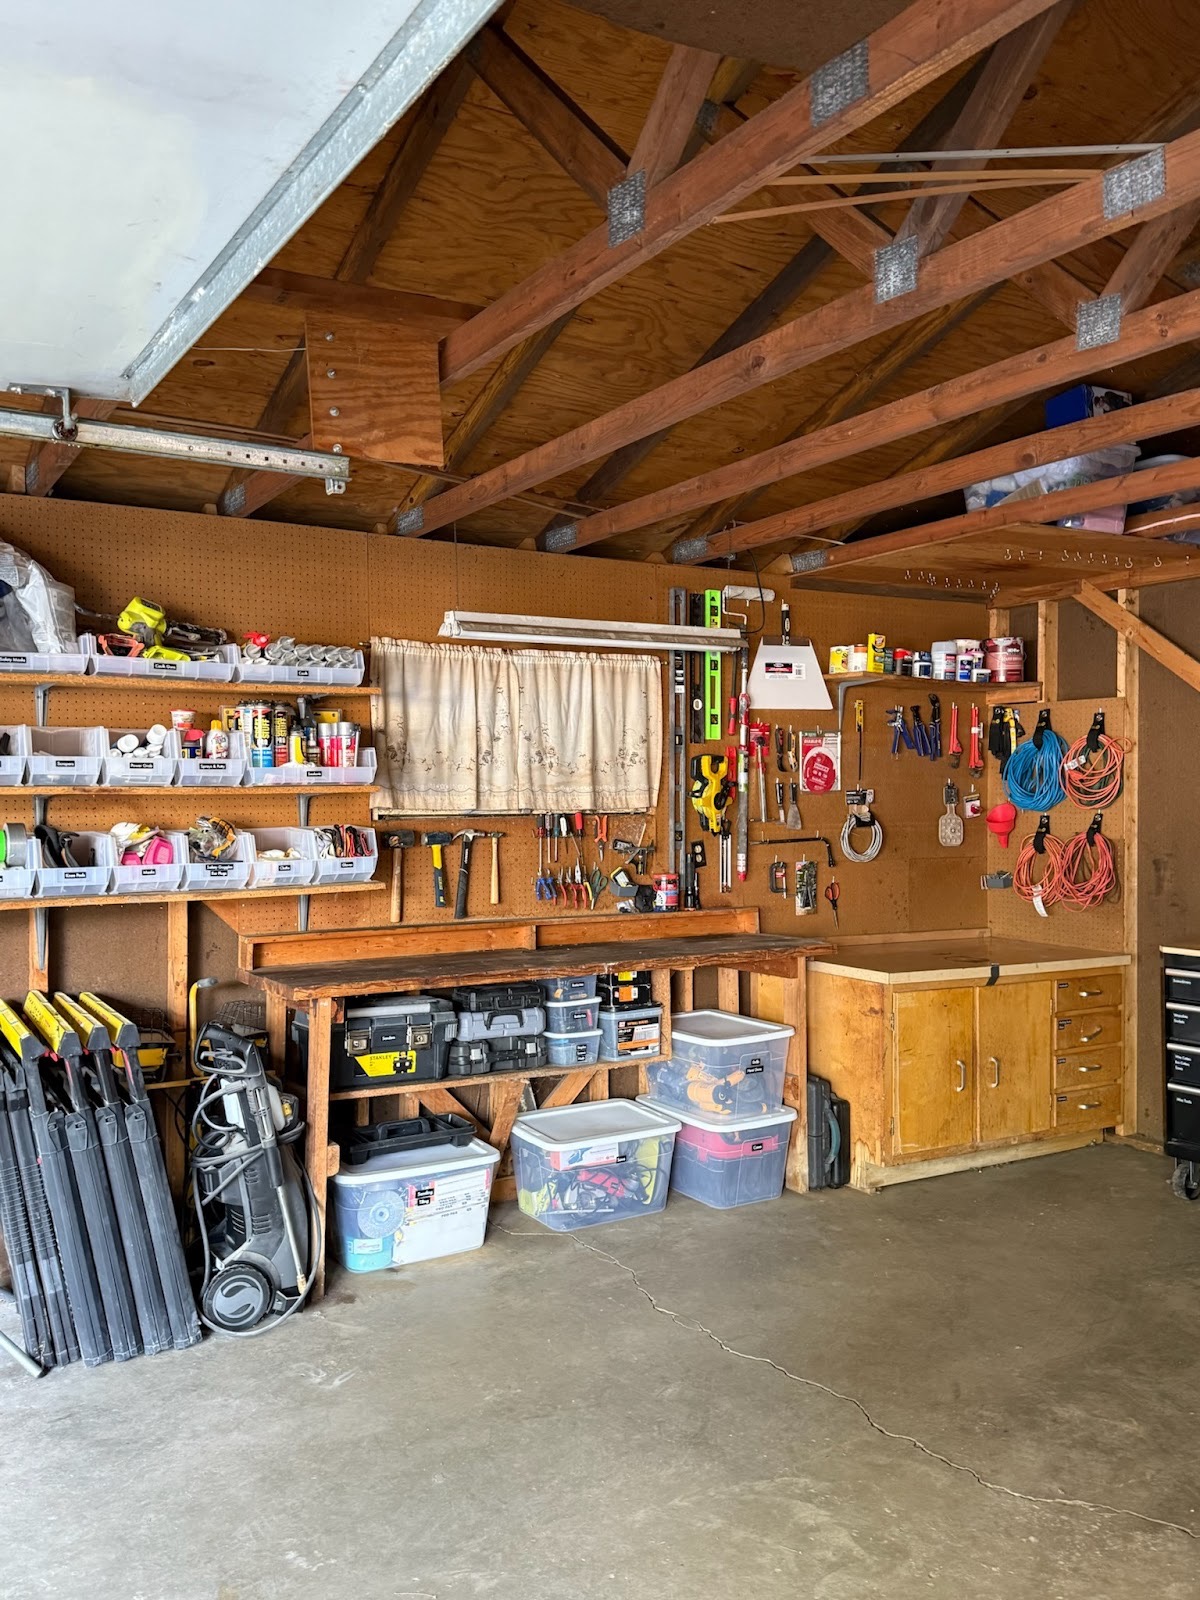
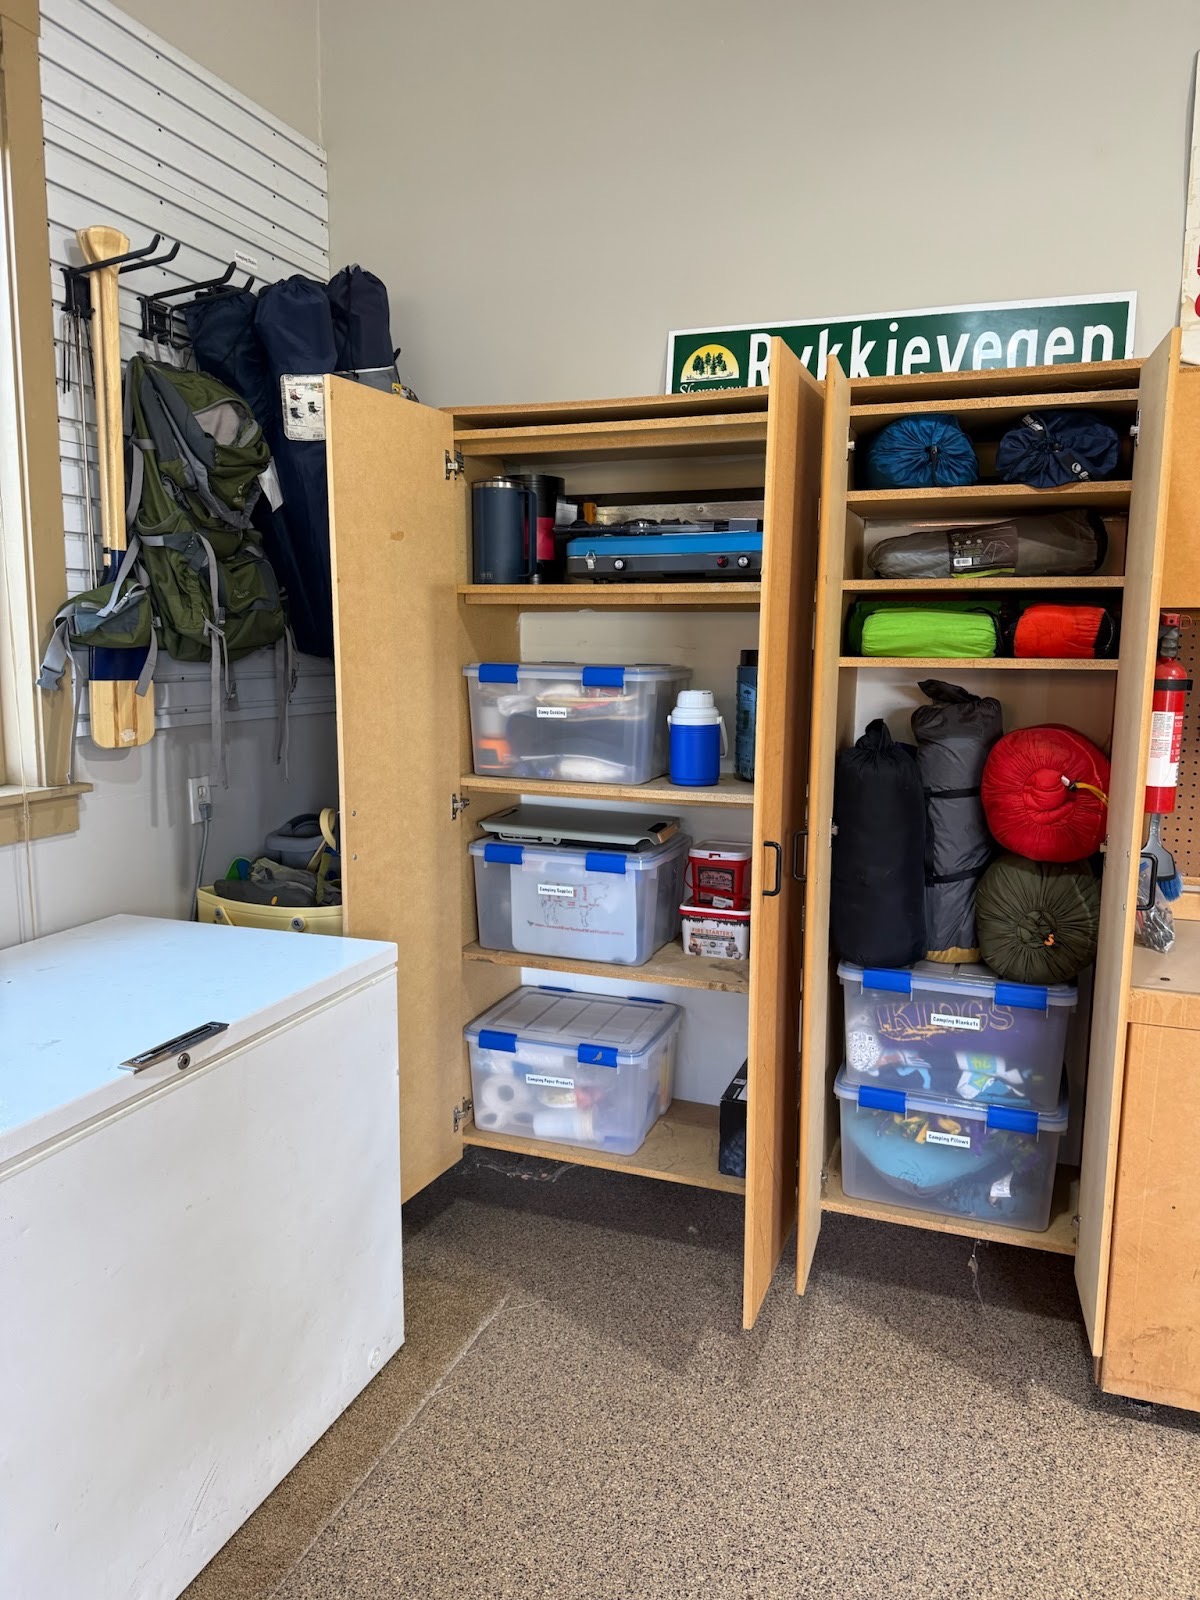
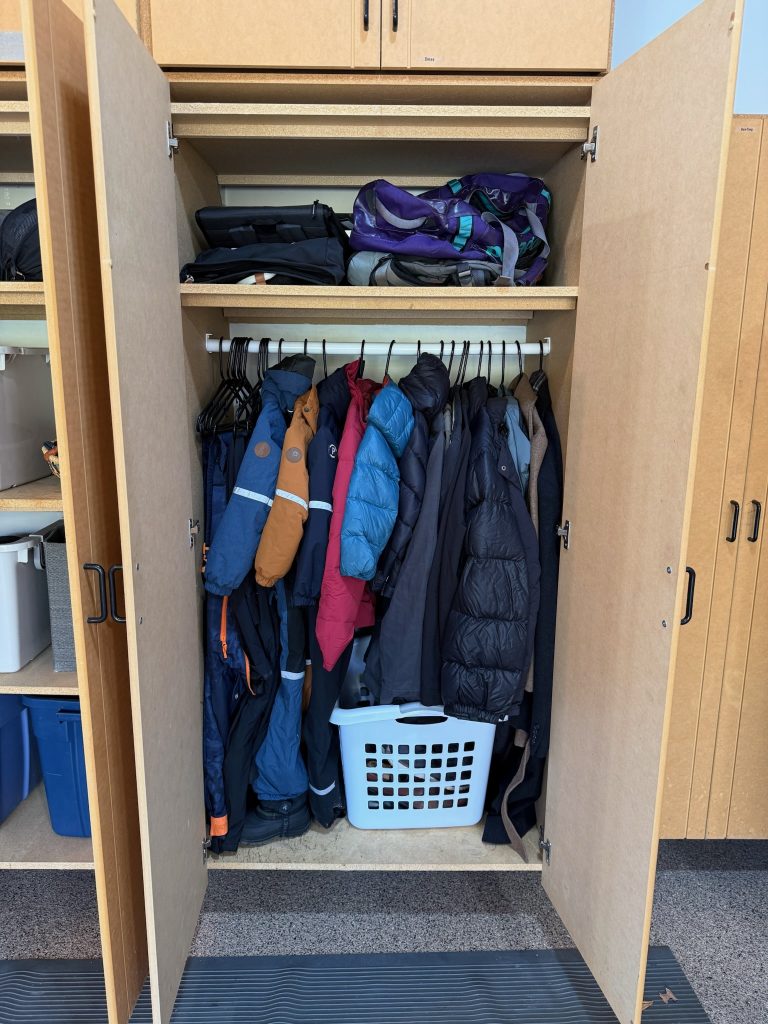
Every area of your garage should be designated for something. Tools, gardening, golfing, sports, cords, etc. This includes having a particular space that you and your kids know is “their space.”
Where in your garage do you want your kids to be storing their items? We would highly recommend claiming space near the garage doors and within easy reaching distance for kids, for easy access. The last thing you want is for your kids to bang up your cars as they try to get their stuff in and out of the garage.
Step 3: Sort!
As professional organizers, we always categorize the items into 4 distinct piles: Donate, Sell, Trash/Recycle, and Keep. Garages are an area of the home that we find has the MOST clutter because it is easy to put items in the garage and then forget about it.
When you are thinking through your kids’ toys and items in the garage – do it with a critical lense. Do my kids currently play with this? Have they outgrown this? Is it missing pieces? Is it missing a charger? If the answer to any of those is yes – it should not be in your keep pile.
If you are on the fence about a particular item – we would recommend putting it on a “watch list.” Keep it for now and if your kids do not play with those items this summer, then it does not get to be in the keep pile when you go to rotate the items into storage.
Step 4: Evaluate Organizational System Needs.
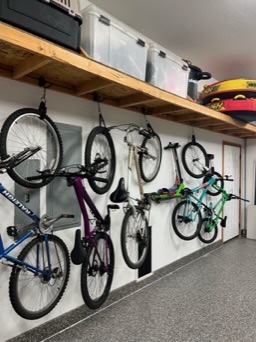
A large hurdle we often see in organizing garages is a lack of systems in the garage to support functional organization. Just like in your home, your garage deserves to have racks, bins, and systems in place to help identify “this is how we organize this item.”
We often spend time installing hanging hooks, bike racks, shelving units, charging stations, and cord organizers in garages. Just the implementation of those can turn your garage from disaster to functional.
Now, it is important to note that a garage will always be just that, a garage. So, it may not be the most Instagram-worthy spot in your house because, let’s face it, garages are a dirty area of the home, but we can focus on the function of the space and make sure you can use it for its purpose.
Step 5: Label, Label, Label!
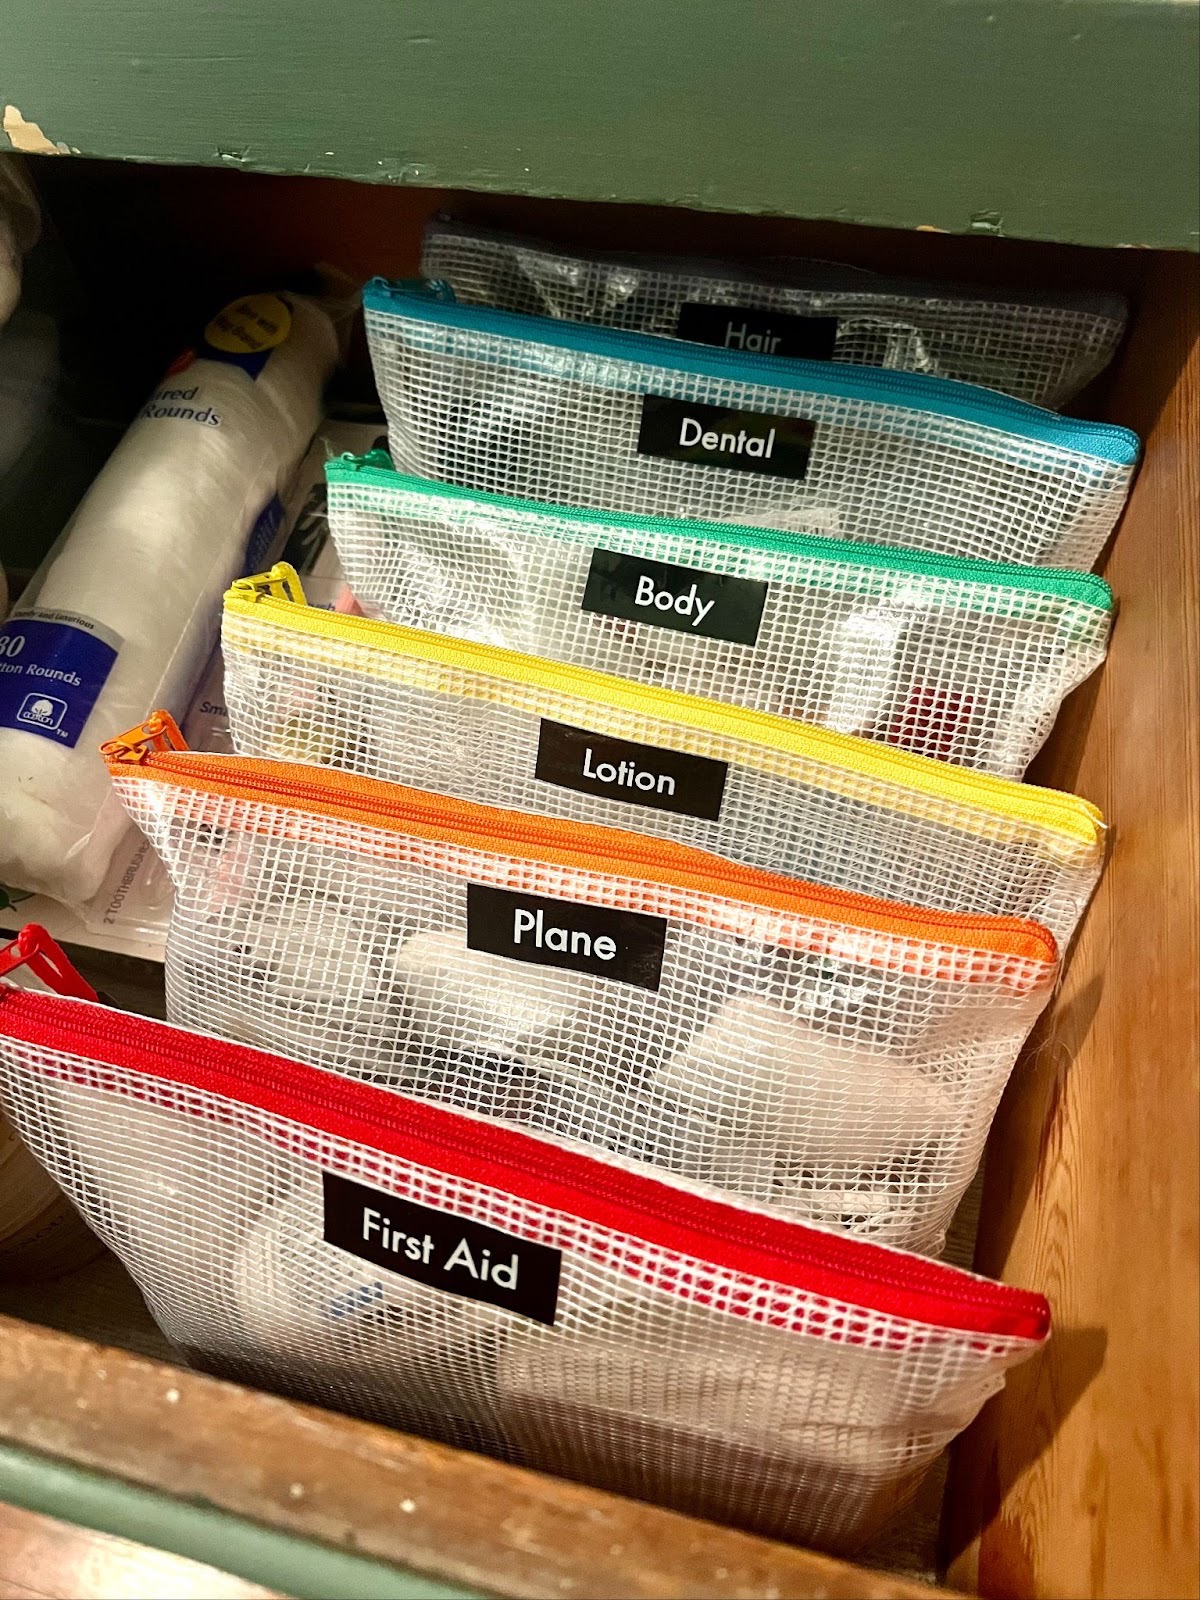
Every bin should have a label so you can clearly identify what items are in those bins without needing to take them down. Make sure you have a label plan for any bins you purchase! Labels will also help make sure other individuals in your family are clear on where to put things back!
Step 6: Put it Back.
After you have installed any necessary organization systems (step 4 above), you can start to put the items back into the garage in your new systems. We would challenge you that as you are putting items back, you are questioning again whether it is something you need to keep. We often keep way too many things with the thought “we might need this one day.” If you have not used it in the last year, it is time to donate, sell, or repurpose the item.
This is a reminder that you should be going through all the steps above alongside your children. Involve them in the process so they feel invested, they can tell you if they have different ideas. Involving them will increase the likelihood they adhere to the new system you are implementing. Meat and Potatoes Organizing lead organizers spend a lot of time in garages! It is one of our primary areas of expertise! If you want more hands-on advice for your particular situation, reach out to schedule your complimentary consultation with one of our professional organizers today! We would love to help spark joy in your everyday life by transforming your home into functional, beautiful spaces, one area at a time.